Healthy No-bake Brownies
Healthy No-Bake Brownies
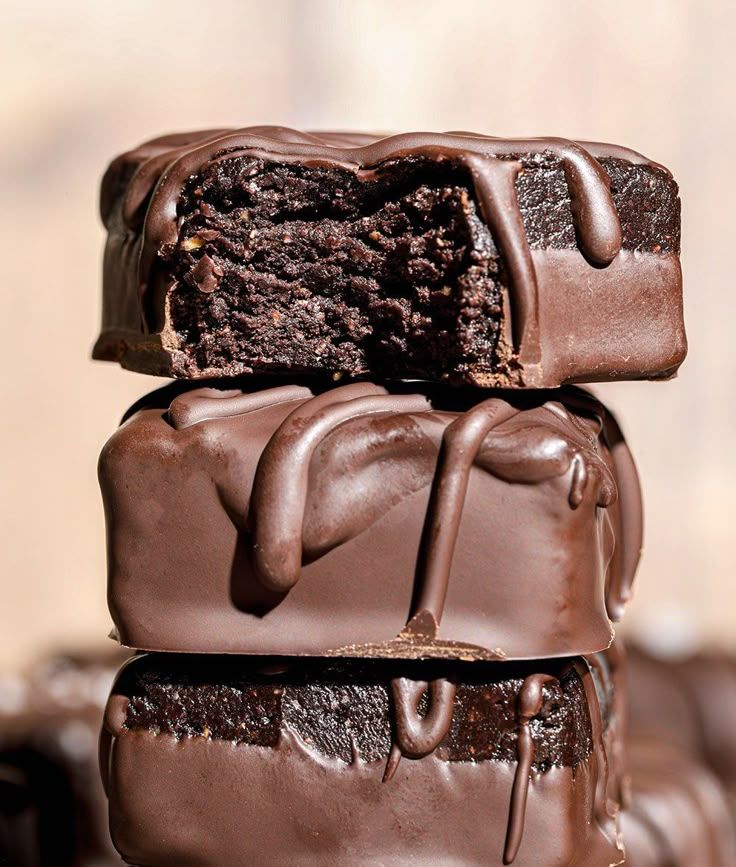
These healthy no-bake brownies are rich, fudgy, and naturally sweetened—no oven, no refined sugar, and no flour required. They’re made with whole-food ingredients like dates, nuts, and cocoa powder, giving you a dessert that feels indulgent but fuels your body. Perfect for quick snacks, meal prep, or a guilt-free treat when chocolate cravings hit.
Why You’ll Love This Recipe
- No baking required (great for hot days)
- Naturally sweetened with dates
- Vegan, gluten-free, and dairy-free
- Takes under 15 minutes of active prep
- Easily customizable
Ingredients
- Pitted dates, packed – 1 cup (170 g)
Acts as the natural sweetener and binder. Medjool dates are best for softness and caramel flavor. - Raw almonds or walnuts – 1 cup (120 g)
Almonds give structure; walnuts make the brownies extra fudgy. - Unsweetened cocoa powder – ¼ cup (25 g)
Use high-quality cocoa for deeper chocolate flavor. - Peanut butter or almond butter – ¼ cup (60 g)
Adds creaminess and healthy fats. Use natural, unsweetened nut butter. - Coconut oil, melted – 2 tablespoons (28 g)
Helps the brownies firm up when chilled. - Vanilla extract – 1 teaspoon (5 ml)
Enhances sweetness and rounds out the chocolate flavor. - Salt – a small pinch
Balances the sweetness and intensifies the cocoa. - Optional add-ins
- Dark chocolate chips – 2 tablespoons (30 g)
- Chopped nuts
- Shredded coconut
- Cacao nibs
Instructions
1. Prepare the dates
Check that your dates are soft and sticky.
If they feel dry or hard, place them in a bowl and cover with warm water for 5–10 minutes. Drain thoroughly before using. This step is crucial for smooth blending.
2. Process the nuts
Add the almonds or walnuts to a food processor. Pulse 8–12 times until they resemble coarse flour.
👉 Don’t overprocess, or you’ll end up with nut butter.
3. Add remaining ingredients
To the food processor, add:
- Dates
- Cocoa powder
- Nut butter
- Melted coconut oil
- Vanilla extract
- Salt
4. Blend until dough forms
Process until the mixture comes together into a thick, sticky dough.
- Stop and scrape down the sides as needed.
- The mixture should hold together easily when pressed between your fingers.
5. Add optional mix-ins
If using chocolate chips or other add-ins, pulse briefly or fold them in by hand to keep texture.
6. Press into a pan
Line an 8×8-inch (20×20 cm) pan with parchment paper.
Transfer the mixture into the pan and press down firmly using:
- The back of a spoon
- A spatula
- Or your hands (slightly damp helps prevent sticking)
7. Chill
Place the pan in the refrigerator for at least 1 hour, or in the freezer for 20–30 minutes, until fully firm.
8. Slice and serve
Lift out using parchment paper, slice into squares, and enjoy!
Tips for Perfect No-Bake Brownies
- Too dry or crumbly?
Add 1–2 teaspoons of water or nut butter and blend again. - Too sticky?
Add a tablespoon of ground nuts or cocoa powder. - Extra fudgy texture:
Use walnuts instead of almonds and slightly more nut butter.
Flavor Variations
- Mint Chocolate: Add ¼ teaspoon peppermint extract
- Espresso Brownies: Add 1 teaspoon instant coffee powder
- Protein Boost: Blend in 1–2 tablespoons chocolate protein powder
- Nut-Free: Use sunflower seed butter and pumpkin seeds
- Coconut Bliss: Add ¼ cup shredded coconut
Storage & Make-Ahead
- Refrigerator: Store in an airtight container for up to 7 days
- Freezer: Freeze for up to 3 months; thaw 10 minutes before eating
Serving Ideas
- Drizzle with melted dark chocolate
- Top with sea salt flakes
- Serve with fresh berries
- Crumble over yogurt or smoothie bowls
If you want, I can also:
- Add nutrition facts
- Rewrite this for a blog post or cookbook
- Create a kids’ version or high-protein version
Just tell me 😄